Category: Avalanche safety

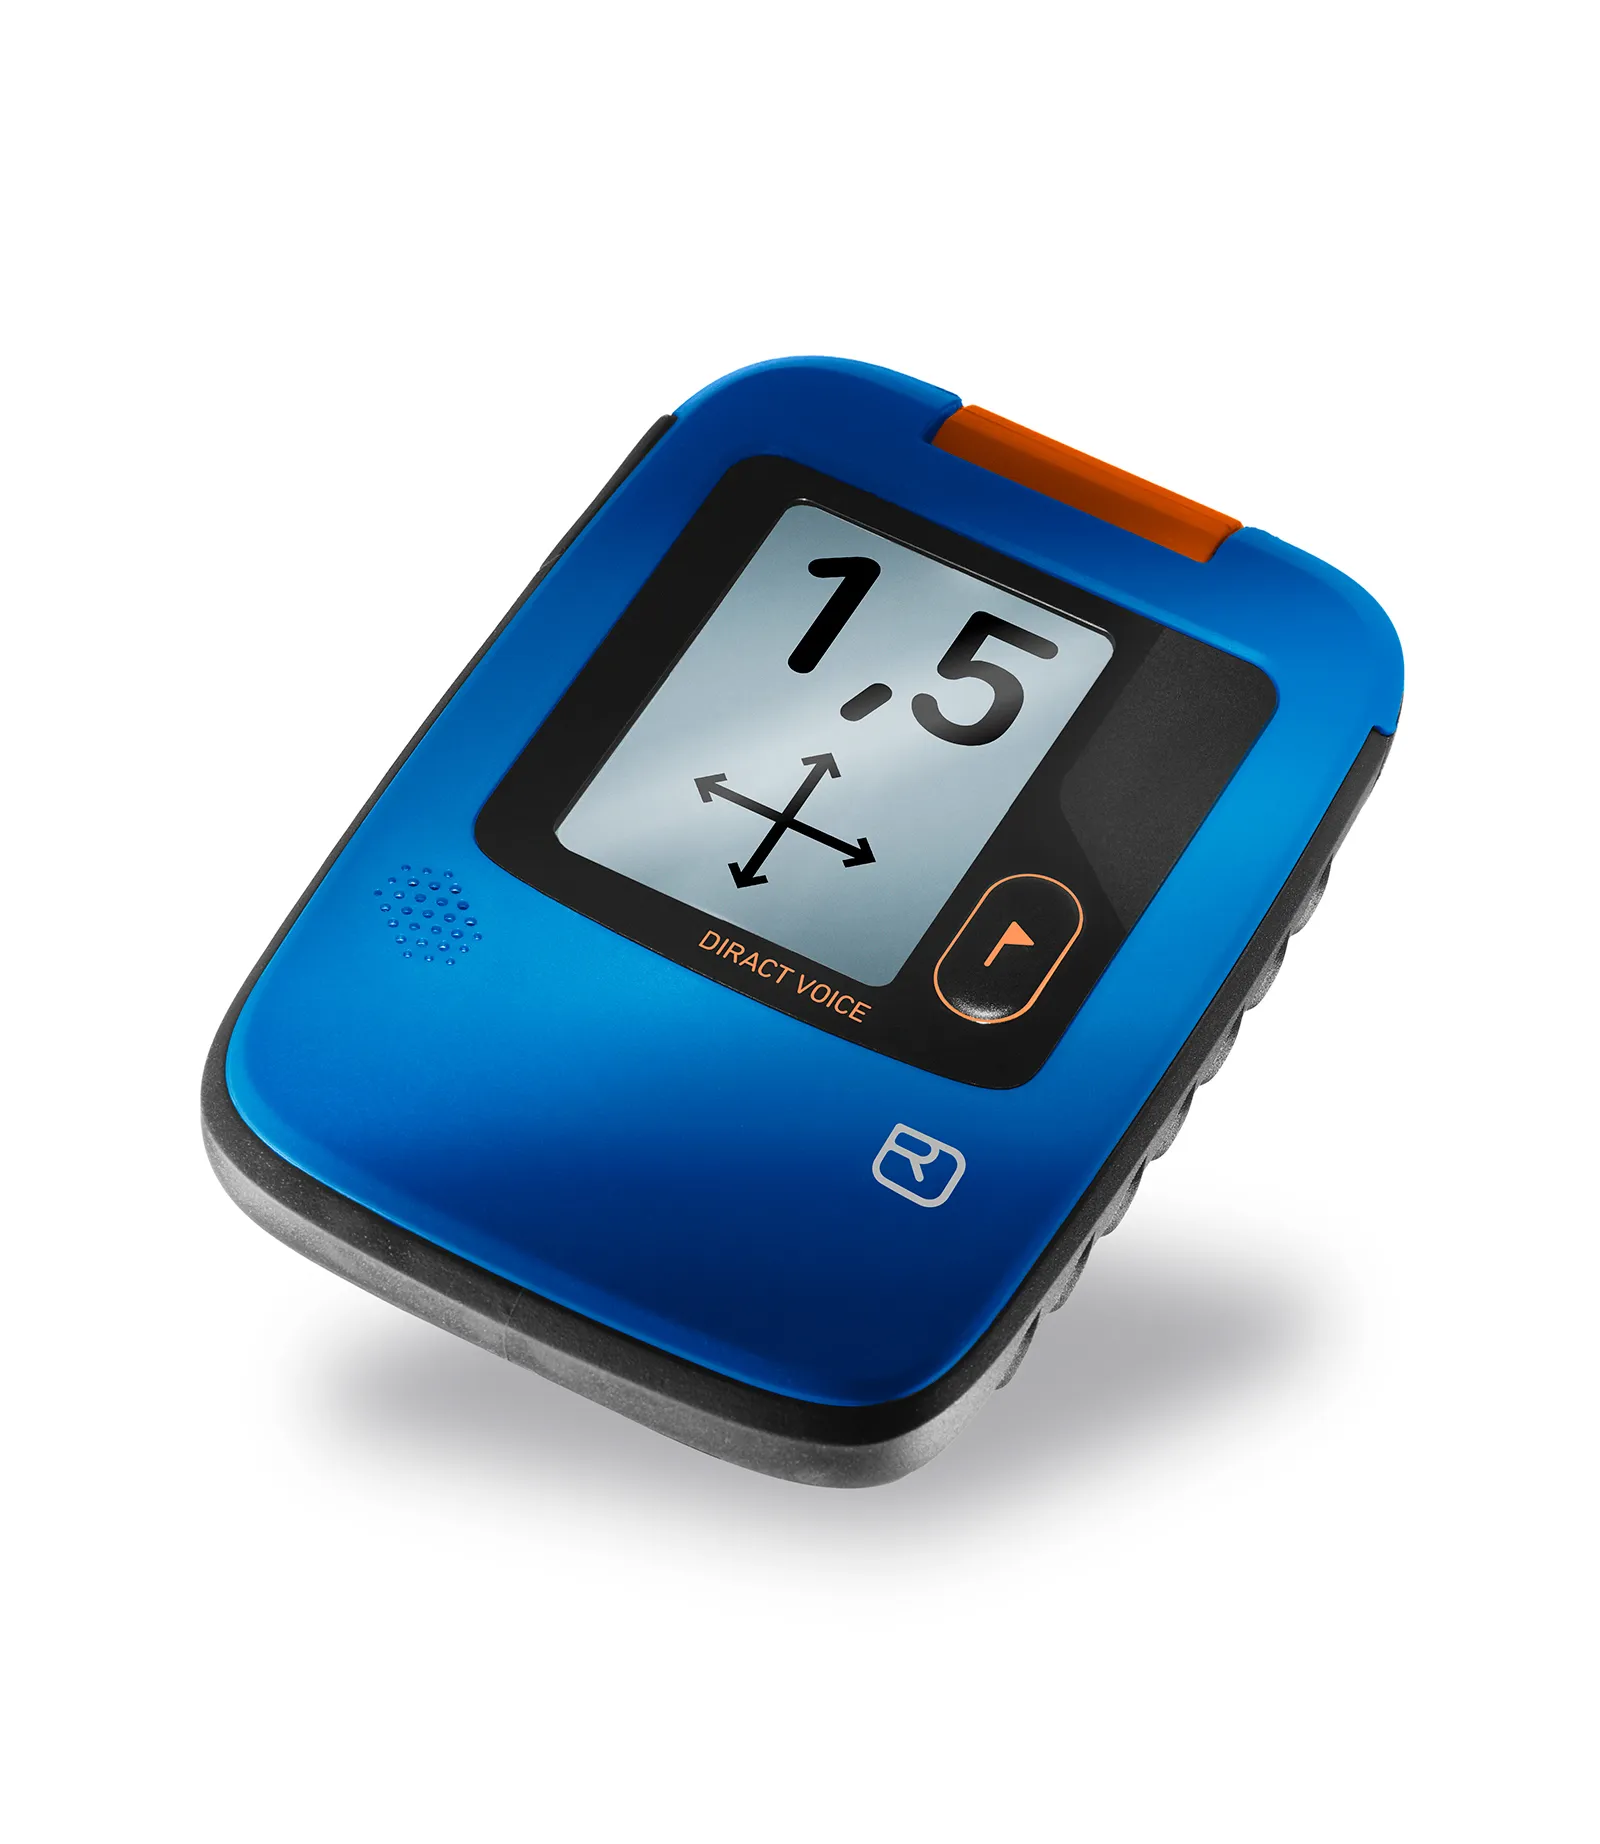
  • The Ortovox Diract Voice: the beacon that talks you through the rescue

    The Ortovox Diract Voice: the beacon that talks you through the rescue

    One transceiver actually speaks to you during a search — telling you where to go and what to do next. Here’s how the Ortovox Diract Voice works, and a plain-English walkthrough of using it when it matters.


    First, the rule that outranks any feature: practice beats hardware.
    Voice guidance is a brilliant aid, but it does not replace training — it supports trained instinct. The Diract Voice will tell you to slow down or turn; it can’t dig, it can’t triage, and it can’t stay calm for you. Take an avalanche course, drill the full companion rescue, and rehearse it before you go off-piste. Treat the voice as a co-pilot, never an autopilot.


    Why voice guidance is a genuinely useful idea
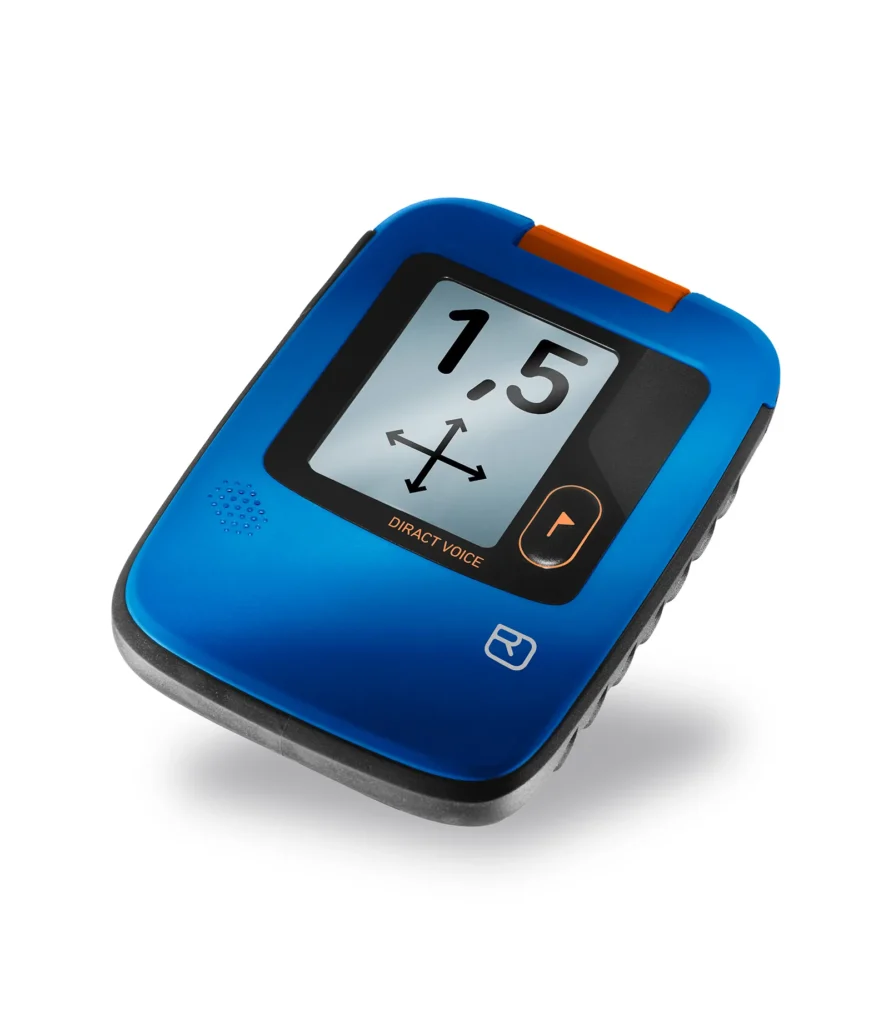
    Ortovox Diract Voice avalanche transceiver

    Under real avalanche stress, two things collapse: fine motor control and the ability to read a screen while moving. The Ortovox Diract Voice (€360) tackles both by speaking the instructions out loud — “go left,” “run,” “slow down” — so your eyes stay on the debris surface and your hands stay free. For a stressed or less-experienced searcher, that’s a real advantage.

    The rest of the package is solid mid-range: three antennas, a 50 m search strip, marking for up to four victims, Ortovox’s Smart-Antenna Technology (it picks the best transmitting antenna based on how the device lies in the snow), and a USB-C rechargeable low-temperature battery that stays reliable to −20 °C and won’t leak like alkalines can.

    How to use it: a plain-English walkthrough

    This is a general overview, not a replacement for the manual or a proper course. Learn the real thing in a beacon park with an instructor first.

    1. Before you leave — the group check.
    Switch the Diract Voice on; it runs a self-test and shows battery status. At the trailhead, do a group check so you confirm every device in the party transmits correctly. Then everyone switches to SEND and carries the beacon in its harness, against the body — never loose in a pocket.

    2. If a slide happens — switch to SEARCH.
    The moment you’re a witness and the scene is safe to enter, slide the beacon to SEARCH. Call the emergency number. Note the victim’s last-seen point.

    3. Signal search — cover the debris.
    Sweep the avalanche debris in strips until the device picks up a signal. With a 50 m strip width, keep your search lines close enough to overlap. The Diract Voice stays mostly quiet here until it has something.

    4. Coarse search — follow the voice.
    Once it locks a signal, the beacon speaks the direction and distance and the display backs it up with an arrow. Follow the guidance, keep the beacon steady in front of you, and watch the distance number fall. When it says slow down, slow down.

    5. Fine search — get low, go slow.
    Around 3 m, drop to the snow and move the beacon slowly and level, following the voice to the lowest distance reading. Bracket the smallest number — that’s your spot.

    6. Mark, probe, dig.
    Mark the point, then confirm with your probe in a spiral out from the lowest reading. Strike, leave the probe in, and start shovelling downhill of it. In a multiple burial, press the flag/mark button to have the beacon set the found victim aside and guide you to the next signal.

    7. Watch for a secondary slide.
    If you stop moving, the motion sensor reverts the beacon to transmit after a set time — protecting you if another slide comes down. Keep that in mind and keep moving deliberately.

    • Buy it if you want a beacon that lowers the stress of searching and a rechargeable battery you don’t have to think about.
    • Skip it if you need maximum range for guiding (look at the Pieps PRO IPS or Mammut Barryvox S2) — the Diract Voice’s 50 m strip is built for recreational touring, not patrol-scale reach.

    The honest takeaway

    The Diract Voice is one of the friendliest beacons to use under pressure, and the spoken guidance is more than a gimmick — it keeps your head up and your hands working. But the voice only tells you what a trained searcher already knows. It shortcuts your eyes and screen, not your skills.

    So do the work the device can’t: take the course, run the drills, and rehearse your rescue before the first backcountry lap of the season. Buy the beacon, then make yourself worthy of carrying it.

    Written by Splitboard-Specialist — based on specs, no test rides, no sponsoring. Beacon safety is never a substitute for formal avalanche education.
  • The cheapest avalanche beacon — and the hidden cost of buying it

    The cheapest avalanche beacon — and the hidden cost of buying it

    Yes, there’s a budget option. No, “cheapest” is not the same as “good enough.” Here’s the entry-level pick, and an honest, unfiltered look at what you give up when you save money on the one device meant to save your life.


    The most important line in this whole article: training beats gear, always.
    A cheap beacon in practised hands beats an expensive one in untrained hands — but that’s an argument for training, not for buying the cheapest thing on the shelf. Whatever you buy, take an avalanche course, drill your companion rescue until it’s automatic, and practise before you ever leave the piste. The device is the floor of your safety, not the ceiling. Your knowledge is the ceiling.


    The budget pick: Arva EVO4

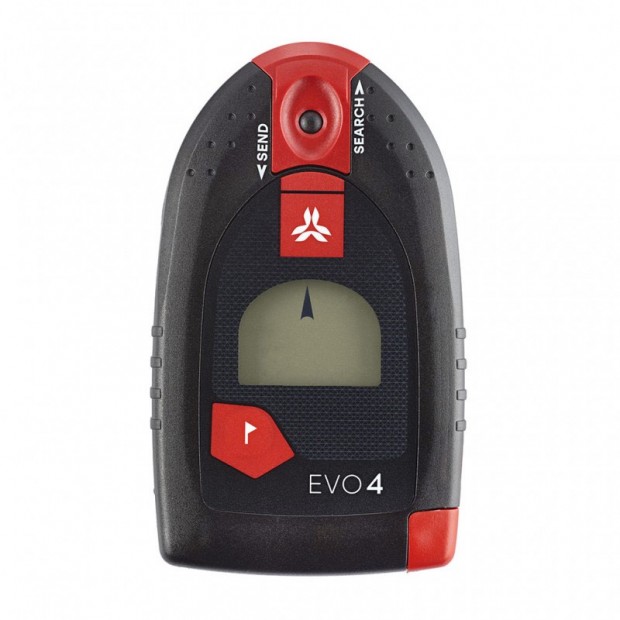
    Arva EVO4 avalanche transceiver

    The Arva EVO4 (€189.90) is the most affordable modern transceiver we’d even consider. To its credit, it covers the non-negotiables: three antennas, the 457 kHz standard, a marking function for multiple burials, and motion-triggered basics. For a tight budget, it’s a real beacon — not a toy.

    But “the cheapest one worth buying” comes with trade-offs you need to see clearly before you decide.

    What you actually give up

    This is the part the price tag doesn’t tell you:

    • Narrower search strip (40 m). That’s roughly half the reach of a flagship’s 80 m. In a real search you make more passes over the debris, and every extra pass costs time a buried partner doesn’t have.
    • Heavier and bulkier (255 g, 4× AAA). The budget model is the heaviest here, while lighter beacons cost more. You feel it on every tour.
    • Slower, simpler multiple-burial handling. Entry beacons are more prone to getting confused when signals overlap — exactly the high-stress scenario where you least want to be fighting your device.
    • No Bluetooth, no app, no firmware updates. You can’t refine settings or keep the software current. What you buy is what you’re stuck with.
    • Basic display and feedback. Less on-screen guidance through the fine search — fine for a trained user, punishing for a panicked one.

    None of these make the EVO4 unsafe. They make it slower and less forgiving — and in avalanche rescue, slower is the entire problem.

    Do the maths on what you’re saving

    The gap between the budget EVO4 and a mid-range all-rounder like the Mammut Barryvox 2 is around €190. Spread across the life of a beacon — easily 8–10 seasons — that’s roughly €20 a year. For that, you double your search strip, drop 75 g, get faster multiple-burial handling, and gain updatable software.

    Put bluntly: this is the last place in your kit to chase a bargain. People will spend €600 on a board and €500 on boots, then flinch at €380 for the device that finds them under the snow. That’s backwards.

    • Buy the EVO4 if budget is a hard wall and the honest alternative is skiing the backcountry with no beacon — in which case a real transceiver you can afford beats nothing, every time.
    • Skip it if you can stretch to the mid-range. The Barryvox 2, Ortovox Diract, or Arva EVO5+ are worth every extra euro.

    The bottom line

    Budget gear is a valid choice when it’s the difference between having a beacon and not. It is not a smart place to economise if you can afford better — because the thing you’re trading away is search time, and search time is survival time.

    But whichever you choose, remember the hierarchy: skills first, device second. The best money you’ll ever spend on avalanche safety isn’t a beacon at all — it’s the course, and the hours in the beacon park, done before you head into the backcountry. Buy the best transceiver you can, then go earn it with practice.

    Written by Splitboard-Specialist — based on specs, no test rides, no sponsoring. Beacon safety is never a substitute for formal avalanche education.
  • The best all-round avalanche beacon: one device that fits almost everyone

    The best all-round avalanche beacon: one device that fits almost everyone

    Most riders don’t need the flagship, and shouldn’t settle for the cheapest. Here’s the beacon that hits the sweet spot — and exactly why it works for beginners and seasoned tourers alike.


    Before anything else: your training matters more than your beacon.
    An all-round transceiver is only “all-round” in trained hands. The device points you in a direction; you run the search, dig the pit, and manage the clock. Take an avalanche course, practise your companion rescue until it’s second nature, and rehearse it before you head off-piste — not on the day you need it. A great beacon with no practice is worse than a basic beacon you know cold.


    What “all-round” actually means

    An all-round beacon isn’t a compromise — it’s a deliberate balance:

    • Enough range to find a signal fast, without the pro-level price.
    • A clean, intuitive interface so a nervous first-timer and a calm veteran both get the same clear guidance.
    • Full multiple-burial marking, so it grows with your skills instead of capping them.
    • A sensible weight and battery setup you’ll actually carry every tour.

    Get those four right and you’ve got a beacon that works on your third tour and your three-hundredth.

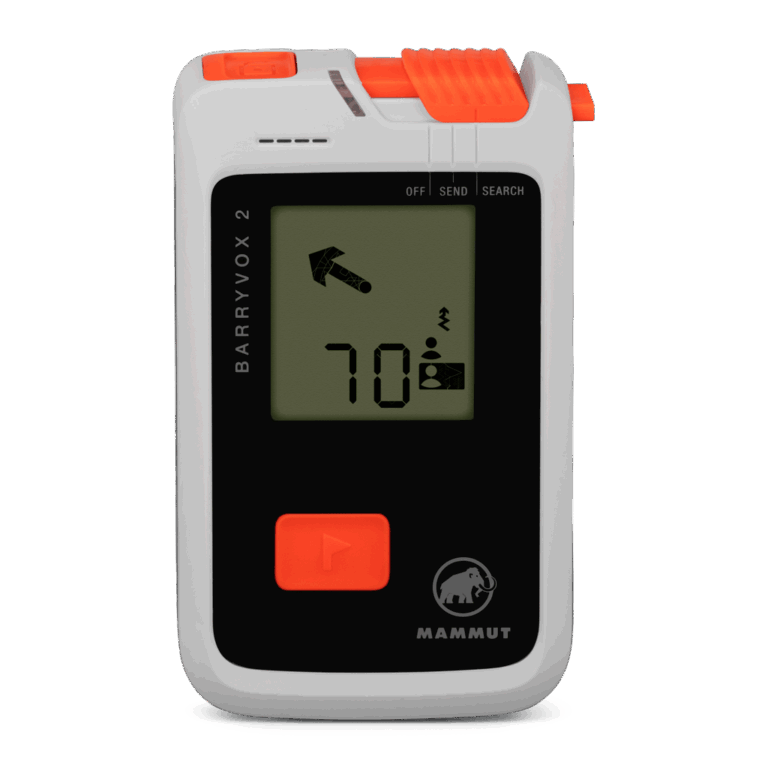
    Our pick: the Mammut Barryvox 2

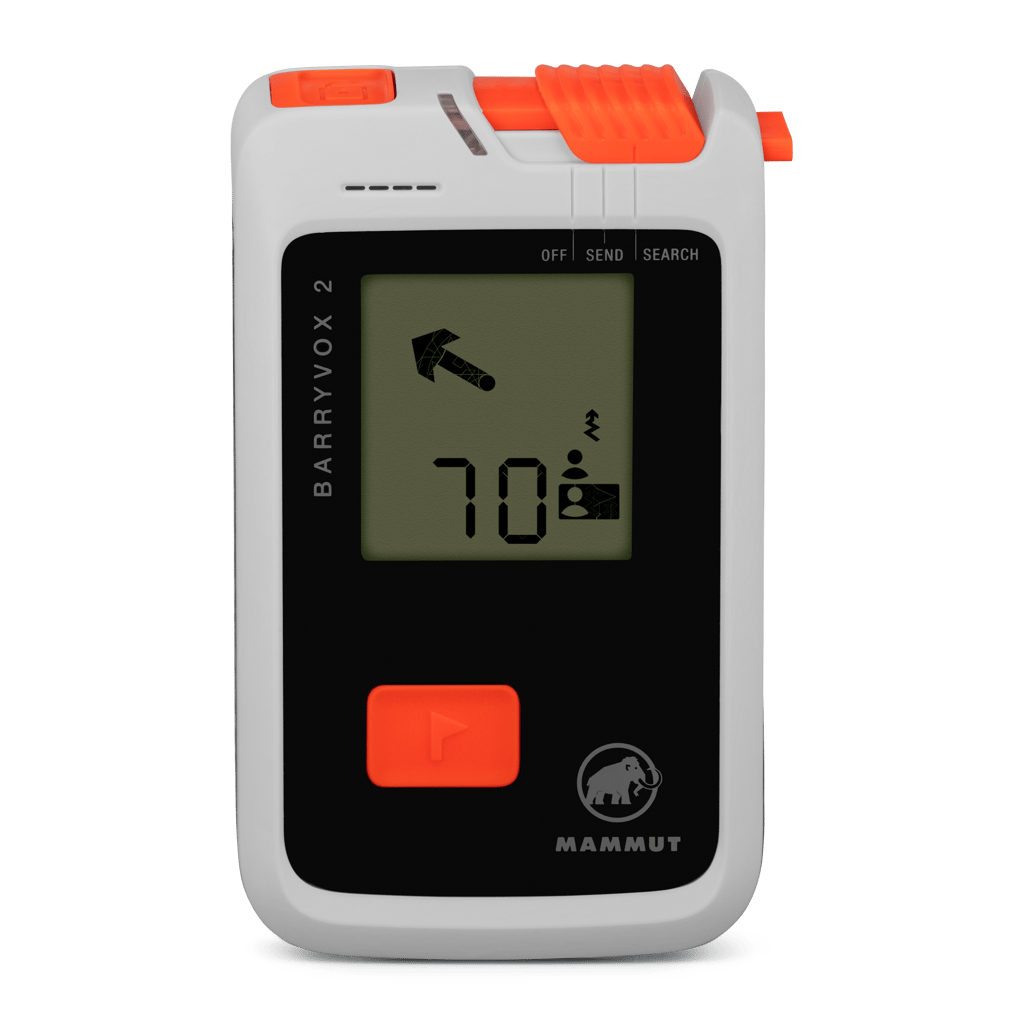
    Mammut Barryvox 2 avalanche transceiver

    The Mammut Barryvox 2 (€380) is the beacon we’d hand to the widest range of riders. It shares the same three-antenna hardware, 70 m range and 70 m search strip as the flagship Barryvox S2 — so you’re not buying a watered-down search — but drops the pro-only extras that most people never touch. At 180 g on two AAA batteries, with a genuinely intuitive interface and Bluetooth for firmware updates, it does everything a recreational tourer needs and nothing they don’t.

    Here’s the key insight: the Barryvox 2 gives you flagship-level finding performance at a mid-range price. The money you save over an S2 isn’t performance you’re missing in the debris field — it’s features aimed at guides and patrollers.

    • Buy it if you want one beacon that’s easy to learn, quick to search, and good enough to keep for a decade.
    • Skip it if you’re a professional who needs analog mode and deep configurability (look at the Barryvox S2 or Pieps PRO IPS), or you want a rechargeable battery (the Ortovox Diract Voice has that).

    Strong alternatives, and who they’re for

    The Barryvox 2 is our default, but two others earn a real look:

    • Ortovox Diract Voice (€360) — voice navigation talks you through the search and a USB-C rechargeable battery means no more loose AAAs. Brilliant for anyone who wants extra reassurance under stress.
    • Pieps MINI IPS (€299) — the compact, feature-complete option if pocketability and price matter most.

    Why the middle beats the extremes for most people

    Go too cheap and you sacrifice search strip width, speed in multiple burials, and updatability — real disadvantages when minutes matter. Go straight to the flagship and you pay for professional features that sit unused in your menus. The all-round tier is where recreational riders get 95% of the performance for a fair price, in a package that’s easy enough to actually master.

    And mastering it is the whole point. The Barryvox 2 is a superb beacon — but it’s your training that turns it into a rescue. Buy the device, then put in the reps at a beacon park before the powder days start.

    Written by Splitboard-Specialist — based on specs, no test rides, no sponsoring. Beacon safety is never a substitute for formal avalanche education.

  • How to Read an Avalanche Forecast Before Every Tour

    Every tour starts the night before, with the avalanche forecast. Reading it well takes five minutes; reading it badly — or only looking at the danger number — is one of the most common factors in avalanche accidents. Here is how to actually use it.

    First things first: this guide is a starting point, not a substitute for an avalanche course. If you ride outside controlled terrain, take a course, carry beacon–shovel–probe, and practice with them. No exceptions, no matter what board is under your feet.

    The danger scale is not linear

    The European scale (EAWS) runs from 1 (Low) to 5 (Very high). The steps are not equal: risk roughly doubles with each level, and most recreational avalanche fatalities happen at level 3 (Considerable) — not at 4 or 5, when most people stay home. Treat “3” as a serious warning, not a middle-of-the-road green light.

    The four things to read, in order

    1. The avalanche problem. Wind slab, persistent weak layer, new snow, wet snow, gliding snow — each behaves differently. A persistent weak layer problem means conservative terrain choices for days or weeks, not just today.
    2. Aspect and elevation. The forecast tells you where the problem lives — for example “NW to NE aspects above 2200 m”. That diagram, combined with a map, is your route-planning tool. Danger level 3 on north faces can mean sensible level-1-style riding on a sunny south ridge.
    3. The danger level — as a summary of the above, per elevation band, not as the whole story.
    4. The text. The forecaster’s discussion contains the nuance: how deep the weak layer sits, whether triggering is likely from a distance, how the day will evolve. Read it every time.

    What the forecast cannot do

    A forecast covers a whole region; your slope is one specific pitch. Local wind loading, a thin snowpack spot, a convex roll — the forecast cannot see them. That is what your own observations are for: recent avalanches, whumpf sounds, shooting cracks, and rapid warming are all louder than any bulletin. If the mountain contradicts the forecast, believe the mountain.

    Make it a routine

    Check the forecast the evening before (plan), again in the morning (confirm), and match it against a terrain plan with options to scale down. The best splitboarders are not the ones who ride the steepest lines — they are the ones still touring at 70.

    Related: Avalanche beacons explained · The backcountry packing checklist

  • Avalanche Beacons: The Lifeline of Every Splitboarder

    When you step beyond the resort gates, silence takes over. The air feels sharper, the snow untouched, and every kick-turn carries you further into freedom. But that sense of freedom only exists when you ride with awareness — and the right safety gear.

    Your avalanche beacon, or pieper, might be the smallest item that has got your back, yet it’s the one that can save your life.


    How Avalanche Beacons Work

    Every avalanche beacon transmits a pulsed electromagnetic signal at 457 kHz — a frequency chosen because it penetrates snow efficiently. When you switch to search mode, the beacon starts listening for other signals, calculating both direction and distance based on their strength and timing.

    That signal is delicate. It can easily be distorted by nearby electronics or reflective materials. Phones, GoPros, smartwatches, and radios emit electromagnetic noise that confuses your beacon. Metal or aluminum — ski poles, foil wrappers, or rescue blankets — can also reflect or block waves.

    Guides follow a simple rule:

    • Keep phones and radios at least 50 cm away from your beacon.
    • Switch all devices to airplane mode while touring. (PLEASE don’t put it OFF because if something happens, then you can call!)
    • Avoid metallic items near your transceiver.

    Modern Beacon Technology

    Today’s beacons use three antennas in a 3D X–Y–Z configuration, giving them precise directional and depth readings. This dramatically improves accuracy during the final fine search — when seconds matter.

    Advanced models like the Pieps Pro IPS feature an Interference Protection System (IPS) that scans for electromagnetic noise and switches automatically to the cleanest antenna channel. The result: stable readings even near phones or radios.

    Other high-end models such as the Mammut Barryvox S or Ortovox Diract Voice include features like auto-revert, voice guidance, and multi-burial marking to simplify complex rescues.


    Bluetooth Updates, Battery Care & Routine Checks

    Modern beacons connect via Bluetooth for easy firmware updates and diagnostics. Updates refine search speed, signal processing, and range — keeping your beacon performing like new.

    Bluetooth-enabled models include the Black Diamond Guide BT, Pieps Pro IPS, Ortovox Diract Voice, and Arva Neo BT Pro.

    Never start a tour with less than 50 percent battery. Cold drains batteries quickly, and a weak battery can lower transmission power or even cause shutdown. Replace or recharge before every multi-day mission — a small effort that can make all the difference.


    Carrying and Group Checks

    Always wear your beacon on your body, inside its harness or an internal pocket beneath your outer layer — never in your backpack. A detached pack can end up meters away during a slide.

    Before every tour, perform a quick trailhead check:

    1. All riders switch to transmit/send.
    2. One person uses search mode to verify each signal.
    3. Swap roles and confirm your own transmission.

    It takes less than two minutes and ensures every transceiver is working properly before you step onto the skintrack.


    The Best Avalanche Beacons of 2025

    Beacon Search Range Find Range Antennas Key Features Update Method Price (€ / $)
    Mammut Barryvox S 70 m 55 m 3 Long range, intuitive UI, Smart Search, auto-revert USB / Bluetooth €380 / $410
    Ortovox Diract Voice 50 m 45 m 3 Voice guidance, rechargeable battery Bluetooth €330 / $360
    Black Diamond Guide BT 60 m 50 m 3 Multi-burial scan, pro mode Bluetooth €360 / $390
    Pieps Pro IPS 80 m 60 m 3 + IPS Interference Protection System, motion sensor, smart auto-switch Bluetooth €420 / $450
    Arva Neo BT Pro 70 m 55 m 3 Group management mode, fast signal processing Bluetooth €350 / $380

    The Pieps Pro IPS leads the pack for professionals thanks to its exceptional range, interference protection, and automatic re-transmit if buried by a secondary slide.


    Maintenance and Lifespan

    Avalanche beacons are durable, but not immortal. Most manufacturers recommend a service check every three to five years and full replacement after about eight to ten years. Electronics degrade, firmware evolves, and components wear down. Schedule an annual function test at a certified service center to stay confident in your gear.


    Practice Is Non-Negotiable

    Even the best beacon is useless without skill. Run mock searches, test marking functions, and time your rescue drills. Always carry — and know how to use — your beacon, shovel, and probe together. They’re a system, not standalone tools.


    Final Thoughts

    Every splitboarder dreams of deep powder and untouched lines. But safety isn’t the opposite of adventure — it’s what makes adventure possible.

    Check your batteries, test your signal, update your firmware, and practice until every movement feels automatic. Confidence in the backcountry doesn’t come from luck — it comes from preparation.

    Nick Suyker  Founder, Splitboard-Specialist

    Gym teacher from the Netherlands. Splitboarding in the Alps and Pyrenees for several years. Built this site because the information online was worse than it should be. More about this site →